Uipath Custom Activity
Creating a Uipath Custom Activity
UiPath Activities are part of the UiPath Studio application and are designed to help you create a clear and smooth automation process. Additionally, you can create custom activities to better automate processes based on your needs.
There are two major steps required to create a custom activity:
- Writing the custom activity code.
- Adding the external assembly (.dll) in UiPath.
Note that the following components are required to create a custom activity:
- Microsoft Visual Studio with the .NET desktop development workload installed.
- NuGet Package Explorer.
To better understand how to write the code for a custom activity, we are going to create an activity which asks the user for two numbers, then outputs the square of their sum.
Only now do you decide whether you use the CodeActivity or the NativeActivity. In this example we use the CodeActivity.- Launch Microsoft Visual Studio.
- Click File > New >Project… (shortcut: Ctrl + Shift + N). The New Project window is displayed.
- Click Visual C#. The list of all dependencies using C# is displayed.
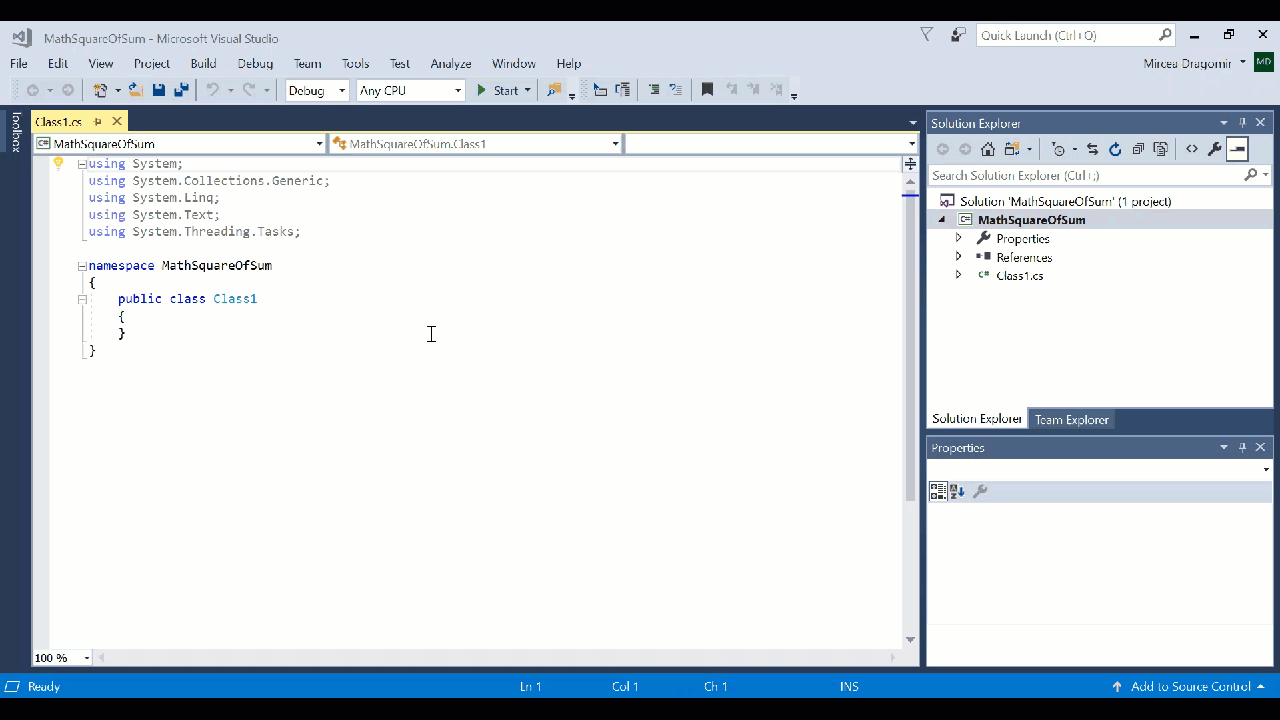
- Optionally, fill in the Name field with a preferred name for your custom activity. In our case, we can use “MathSquareOfSum”
- Select Class Library (.NET Framework) and click OK. This helps us export the custom activity as a .dll file.
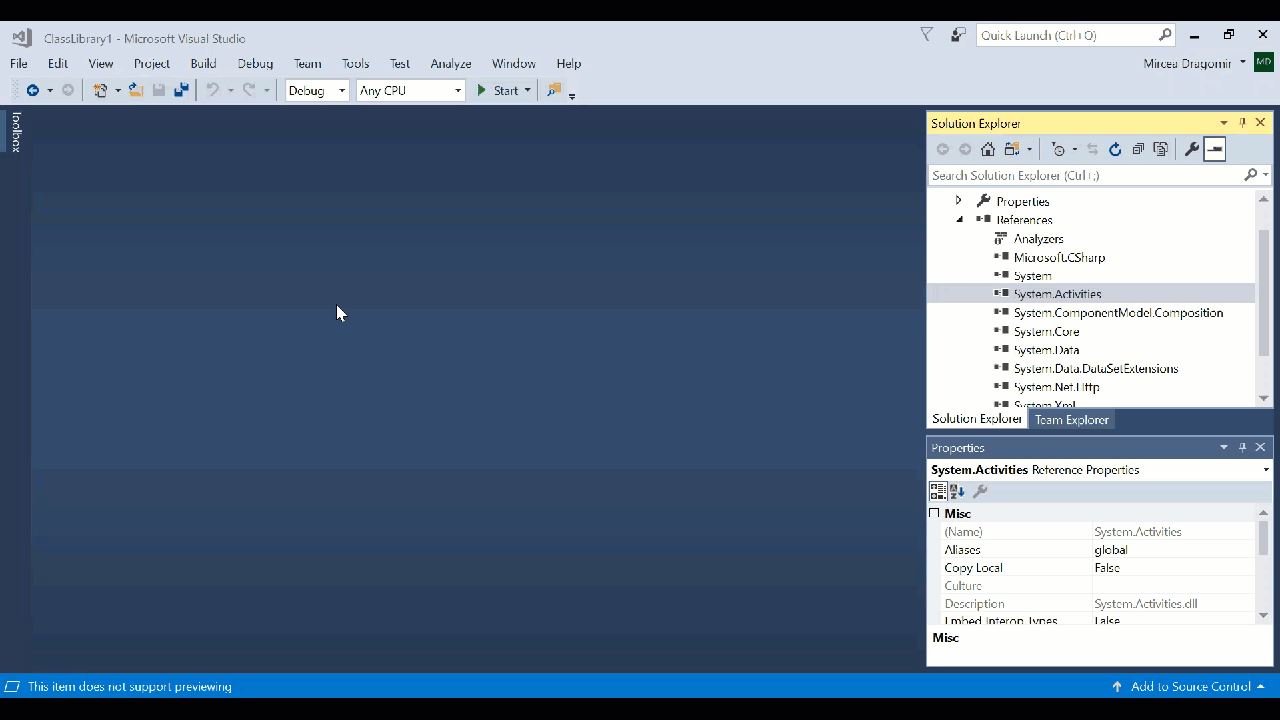
- Click Project > Add Reference….
- Search for
System.ActivitiesandSystem.ComponentModel.Compositionreferences and select them. - Click the OK button.This makes it possible to use classes from the
System.ActivitiesandSystem.ComponentModel.Compositionreferences.
In the
using directive, add the following code:- C#
Write the code for your custom activity. In our case, it needs to look something like this:
- C#
Before the external assembly can be added in UiPath, a NuGet package first needs to be created.
Note:
In order to create a NuGet package you need to install NuGet Package Explorer.


Comments
Post a Comment